
Ready for a new project? Freezer paper stenciling it is! I've used it for another baby project, but you could use it for 'adult/older kid' projects as well. It's kind of like faux screen printing. I found directions for this project from Dana at Made. She has lots of cute ideas about what and how to stencil, so check out her tutorial.
To get started you need a few things:
freezer paper {it must be freezer paper, not wax paper or parchment paper}
an iron
permanent fabric paint
sponges or paint brushes
a blank canvas {I used baby onesies}
Step 1: Draw an image on your freezer paper while keeping in mind how big the image is in relation to your canvas.

Step 2: Cut out the 'inside' of the image. Whatever you cut out is going to be the image on your blank canvas. Make sense? You can use an exacto blade or scissors - whatever you have on hand.

Step 3: Iron your stencil onto your canvas. Make sure that all the edges of the image stick securely to your canvas. If any of them do not stick properly you will not have a clean line on your image.

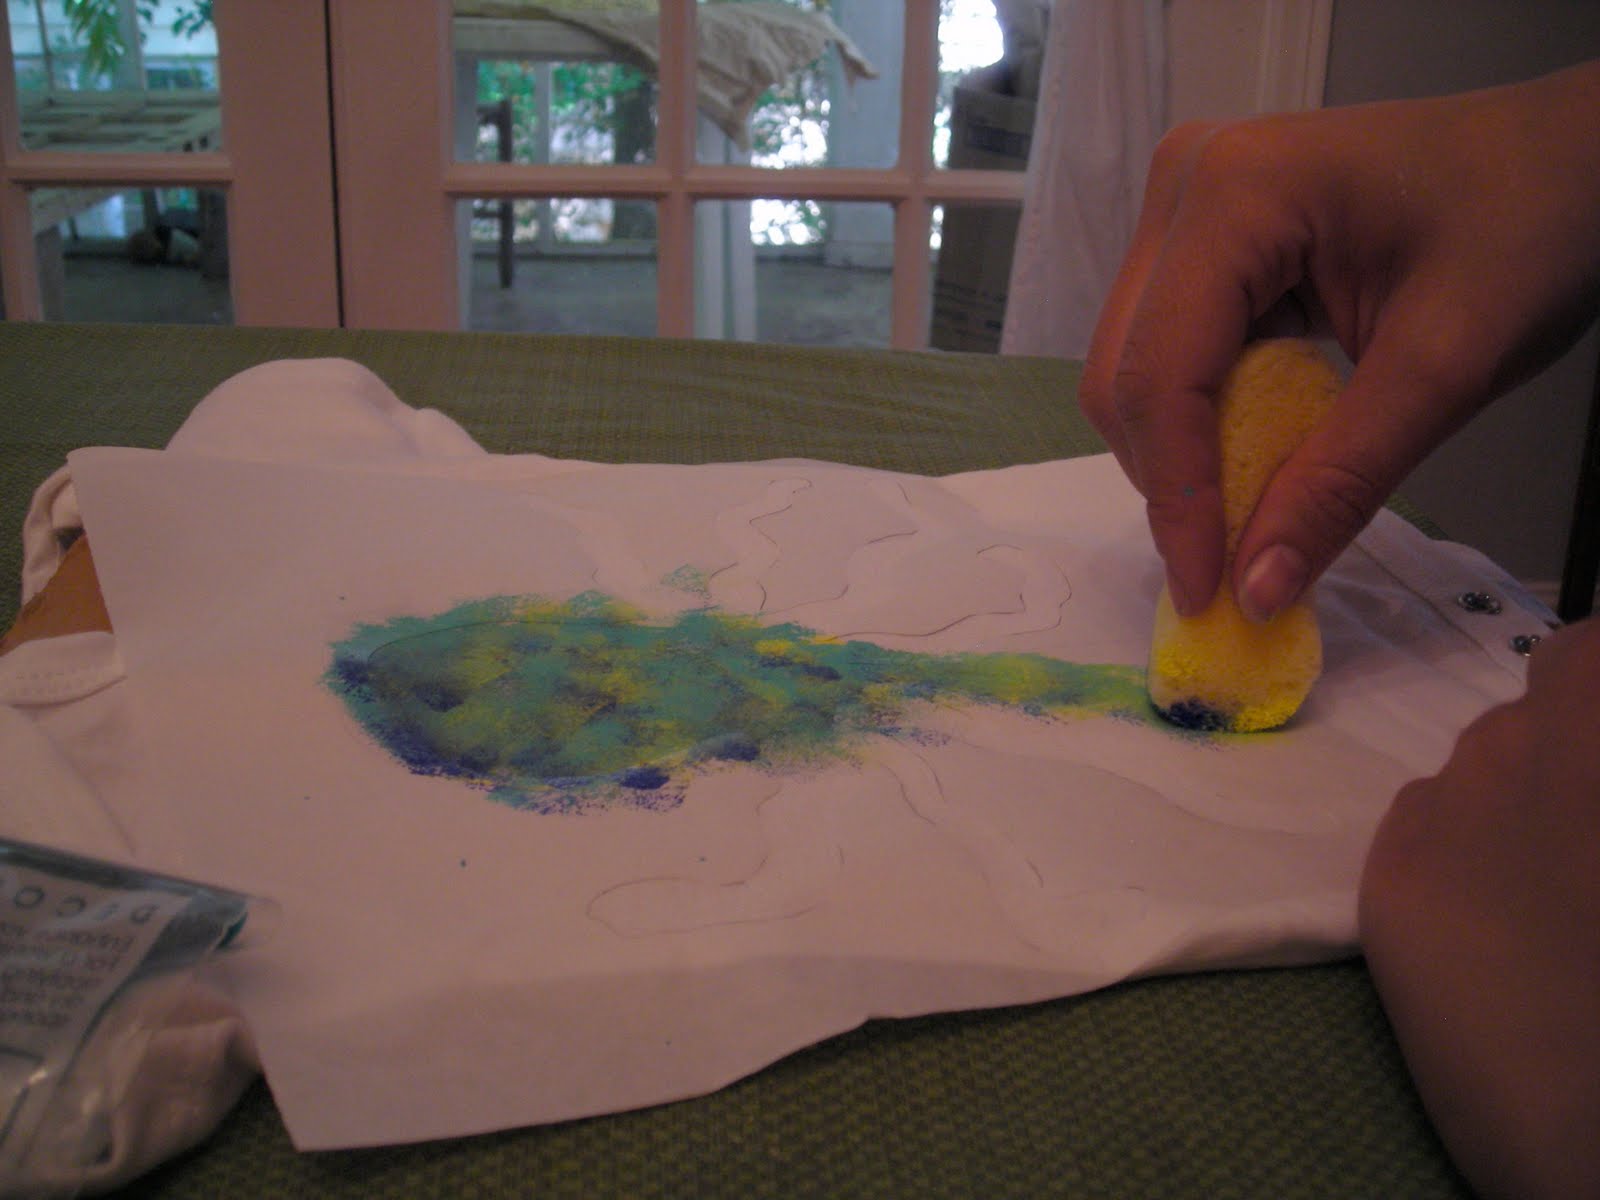
Step 4: Start painting! Using sponges or brushes apply one coat to your image and let dry. For larger areas of painting or a darker canvas you will most likely need to do two or more coats of paint. {make sure you put a piece of cardboard between any layers so that paint does not seep through}
Step 5: After the paint is dry peel the stencil away from your canvas.

Step 6 and 7: {no images} Lay a scrap piece of fabric or a dishcloth over your image and iron for about a minute. Move the iron around every 30 seconds so that you don't burn the fabric. After you've ironed the image throw the item in the wash {if it's washable} turned inside out in cold water. Dry on a low heat and then iron. The image should be much softer than it was prior to washing.
Here is how the octopus onesie turned out - I can't wait to see it on one of my
little brothers-to-be!
little brothers-to-be!

My sister, roommate, and I made a couple different little onesies that day, including this one for another cute baby in our lives. :)

Have a lovely evening!
Julia


What a great idea Julia! I love the octopus!
ReplyDelete